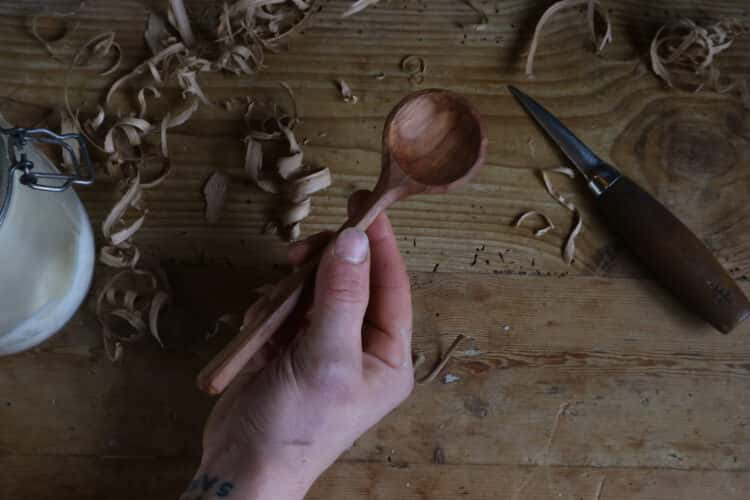
DIY Diaries: how to carve a wooden spoon at home
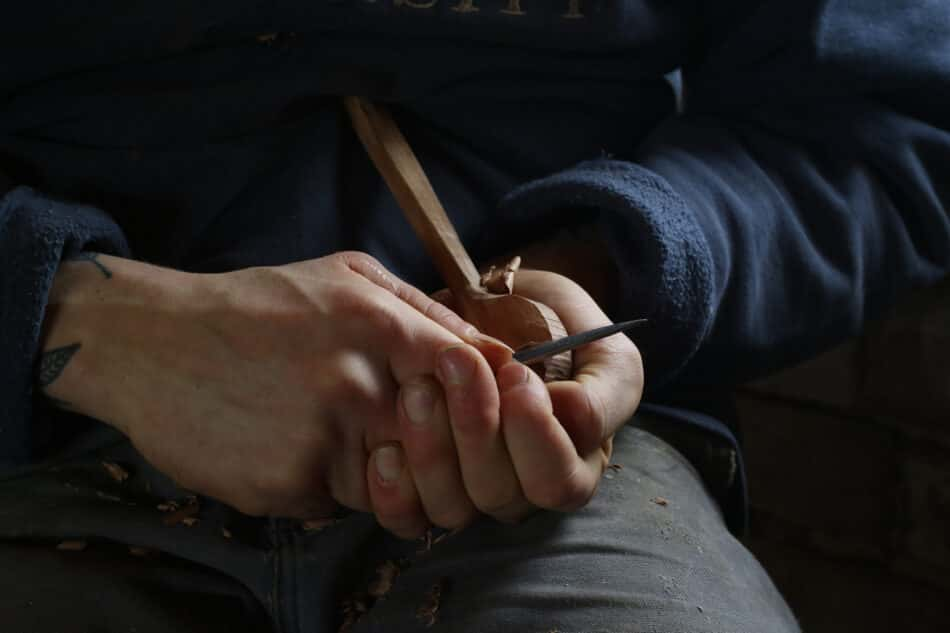
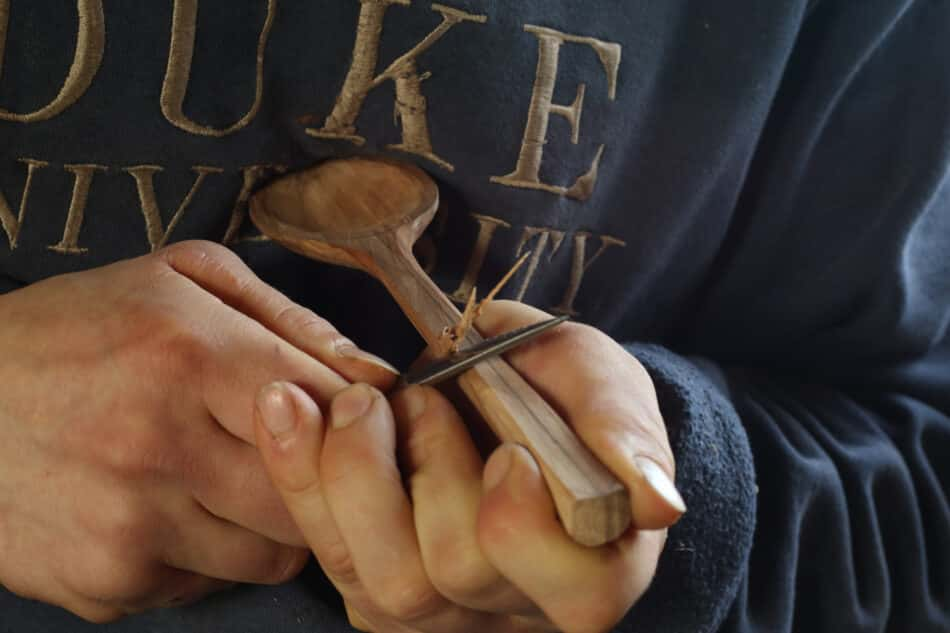
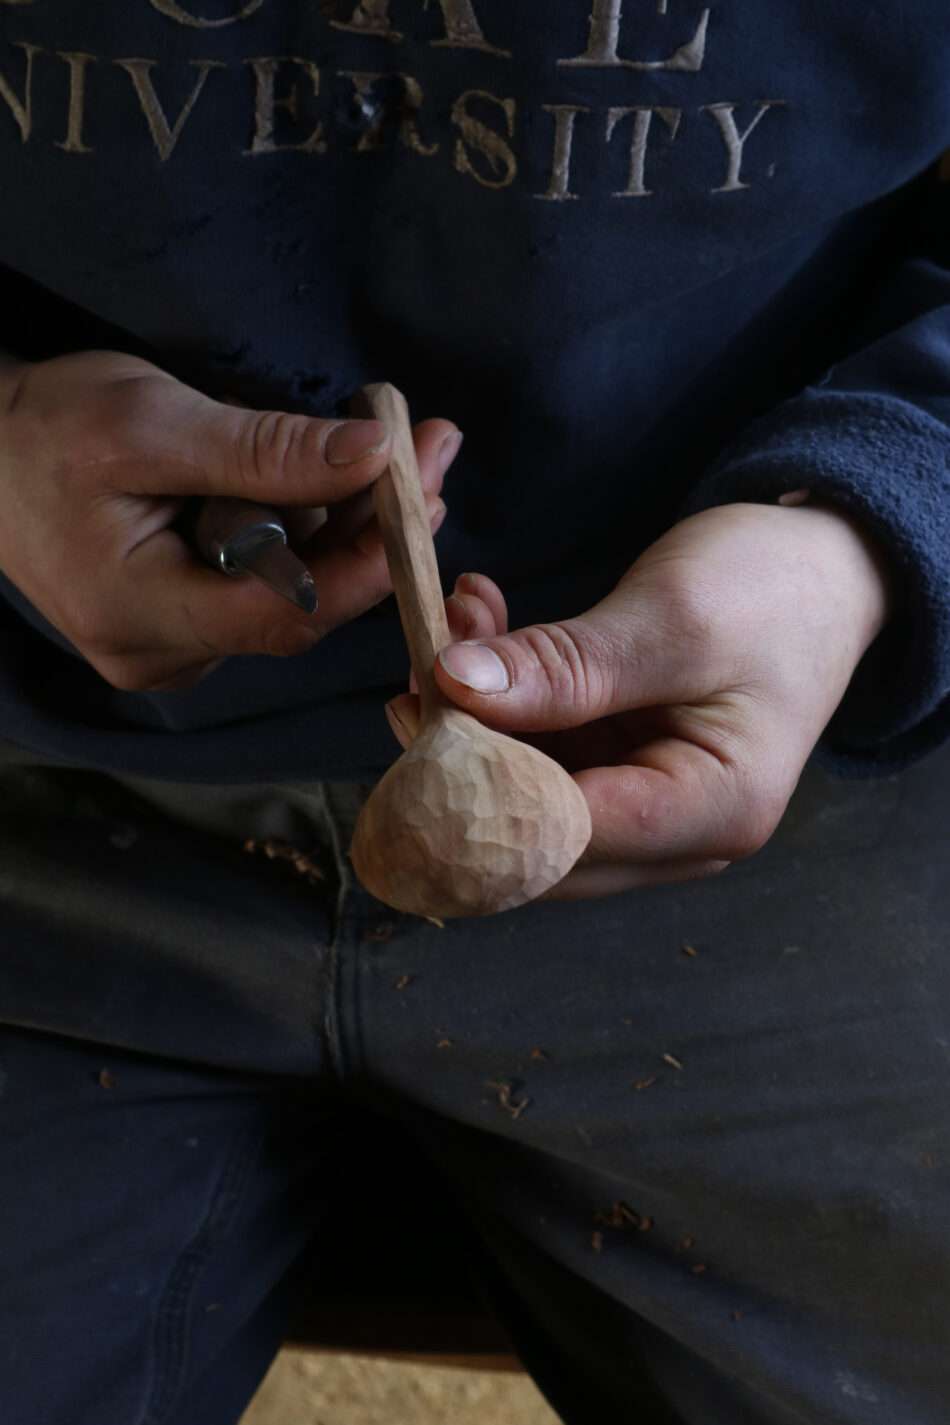
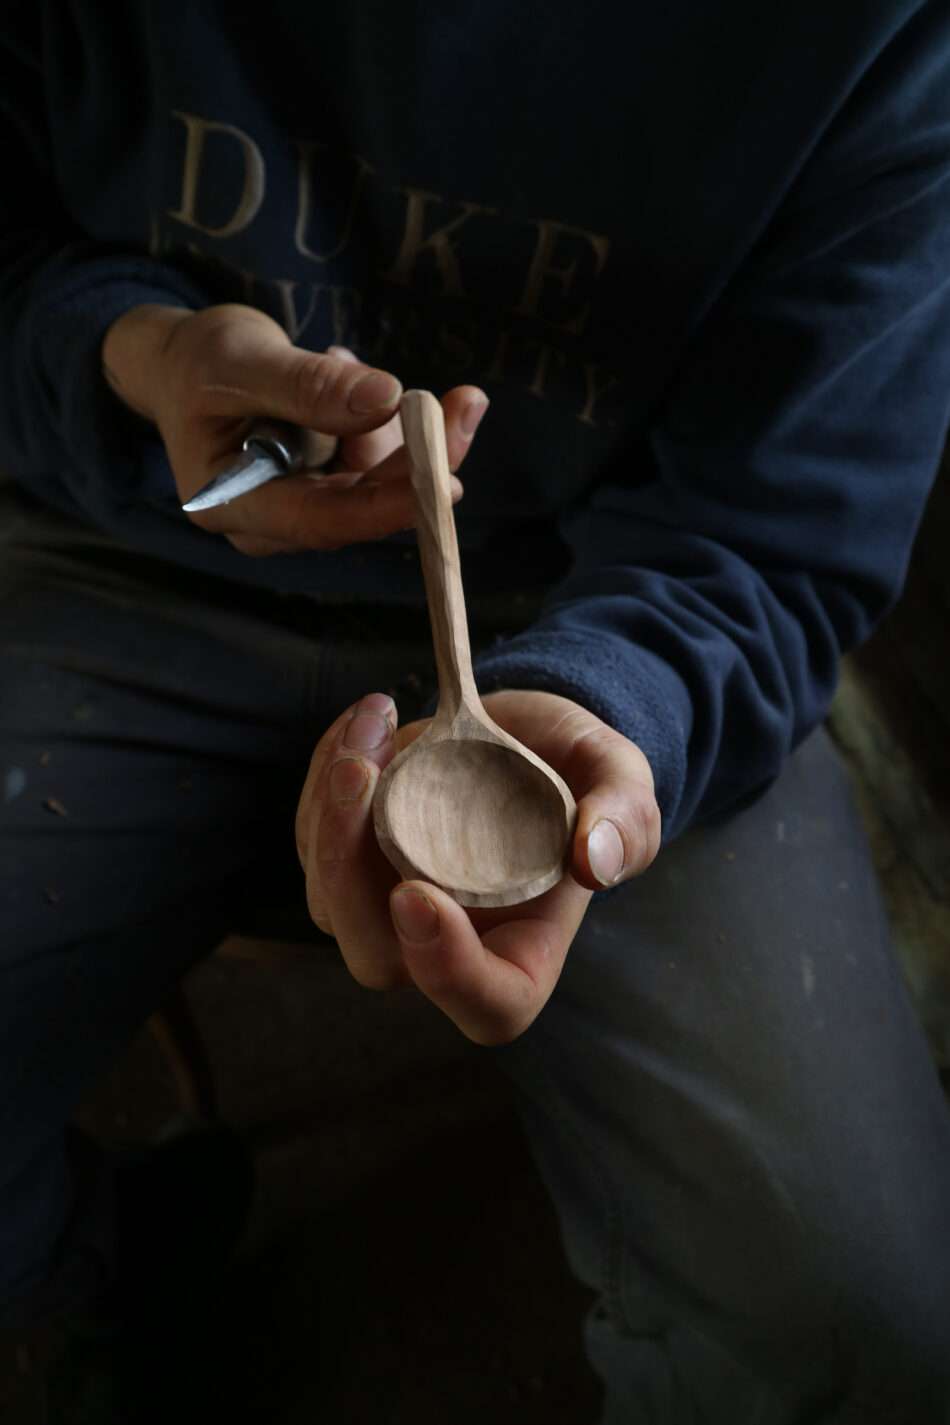
Tobias George is a designer-maker working in Gloucestershire, where his studio is set up for him to create custom carpentry and hand-crafted wooden pieces. His book, Maker.Home, rounds up some of his DIY know-how in the form of 15 easy-to-do projects, which will have you turning sustainable or recycled materials into handmade objects for the home. Here, Tobias shares how to carve a wooden spoon – the ultimate craft project for a long winter?
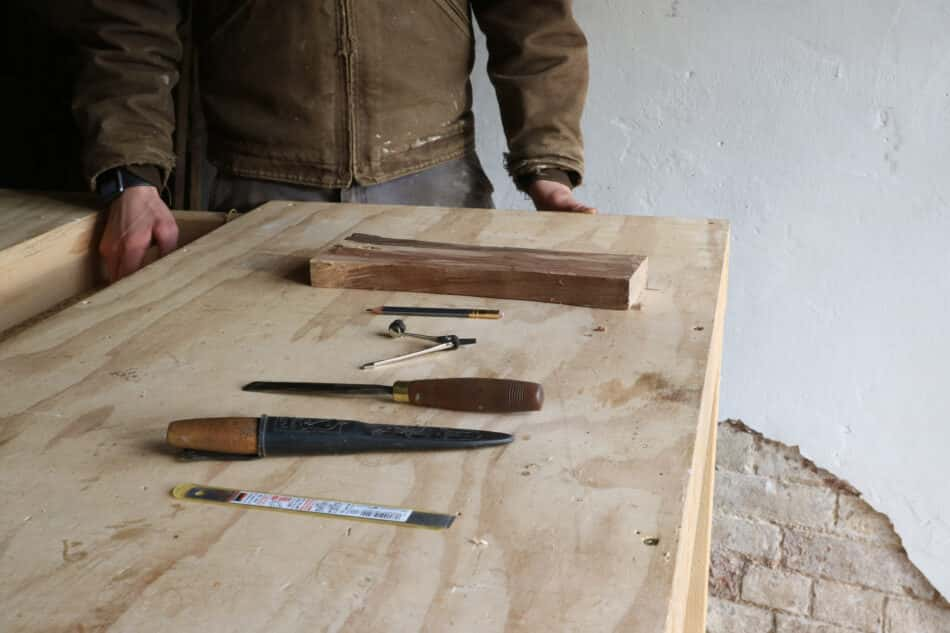
Tools
Ruler
A compass
Carving knife (I use a Mora 106 carving knife)
Wood carving gouge or crook knife (spoon knife)
Jigsaw or bandsaw
120-grit Sandpaper
Materials:
I’d recommend using a piece of ‘green’ timber. ‘Green’ wood is the term used for wood that has recently been cut, so still has a lot of internal moisture, which makes it easier to work with. You can still carve with seasoned (dry) wood, but just be aware that it’ll be a little harder to work with. Some good approximate measurements for the wood are 150-200x60x25mm.
1. Measure and mark
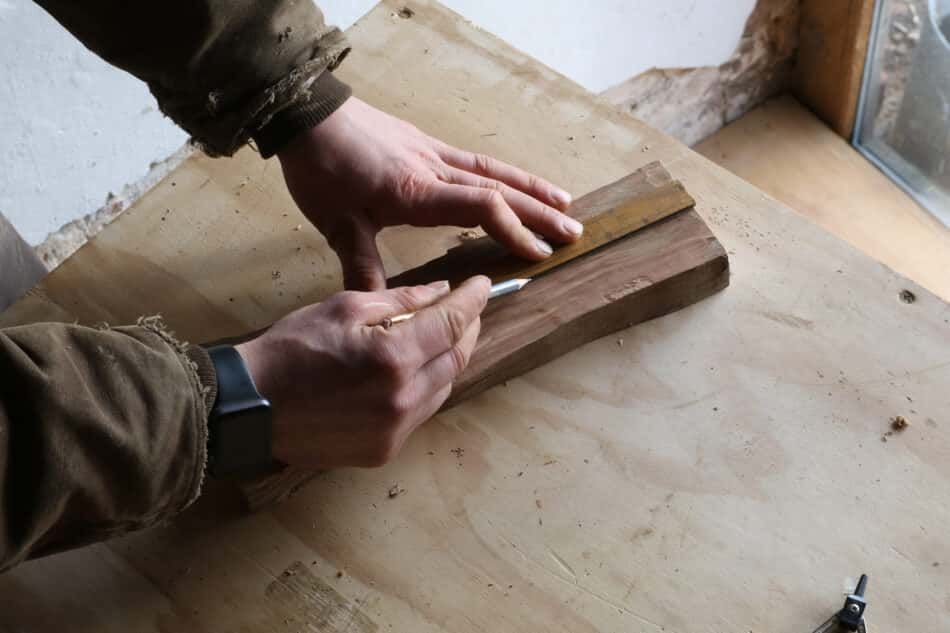
Taking your piece of timber and a ruler, and draw a line down the centre of your piece of wood, from top to bottom.
2. Draw circles
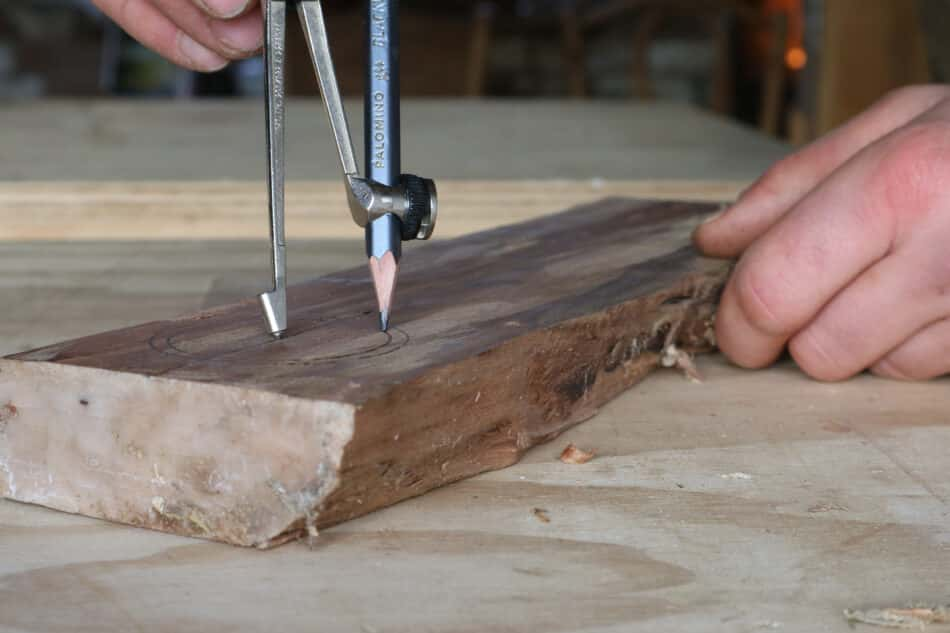
Pick up your compass and pop the point on your centre line, ready to draw two circles – one for the bowl of your spoon and one for the edge of the bowl.
Be sure to leave a healthy gap of at least 5mm between the second circle and the edge of your piece of wood. This gives you a little space to work with, and for mistakes in case your gauge or knife slips while carving. The gap can be bigger, depending on how thick you want the rim of your spoon to be.
3. Draw handle
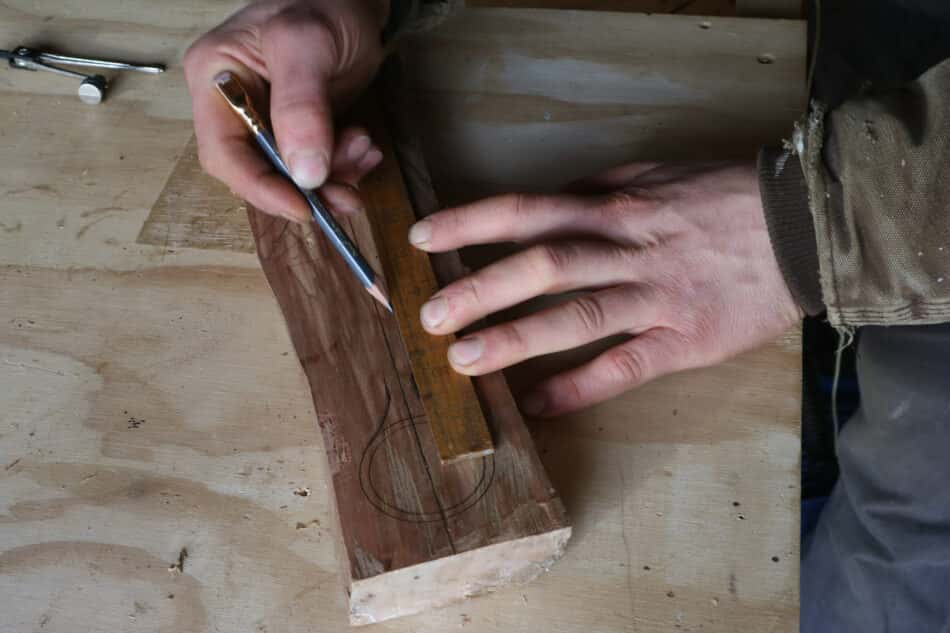
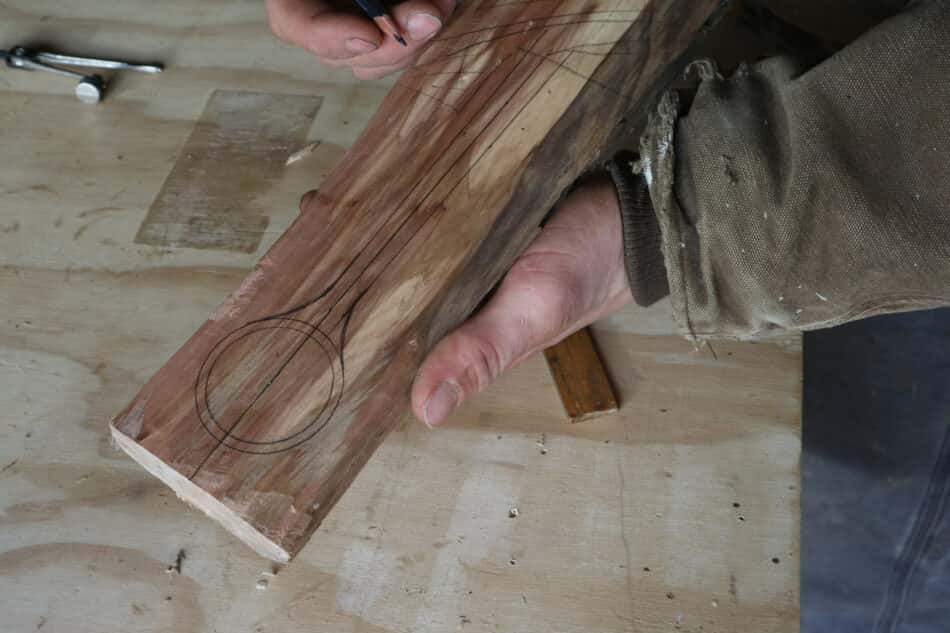
Take a ruler and draw the handle from the bowl of your spoon down the length of your wood.
Draw a neck tapering from the bowl to the handle, rather than just having your handle go straight up to the bowl. This will make carving a little easier later on.
4. Carve and sand bowl
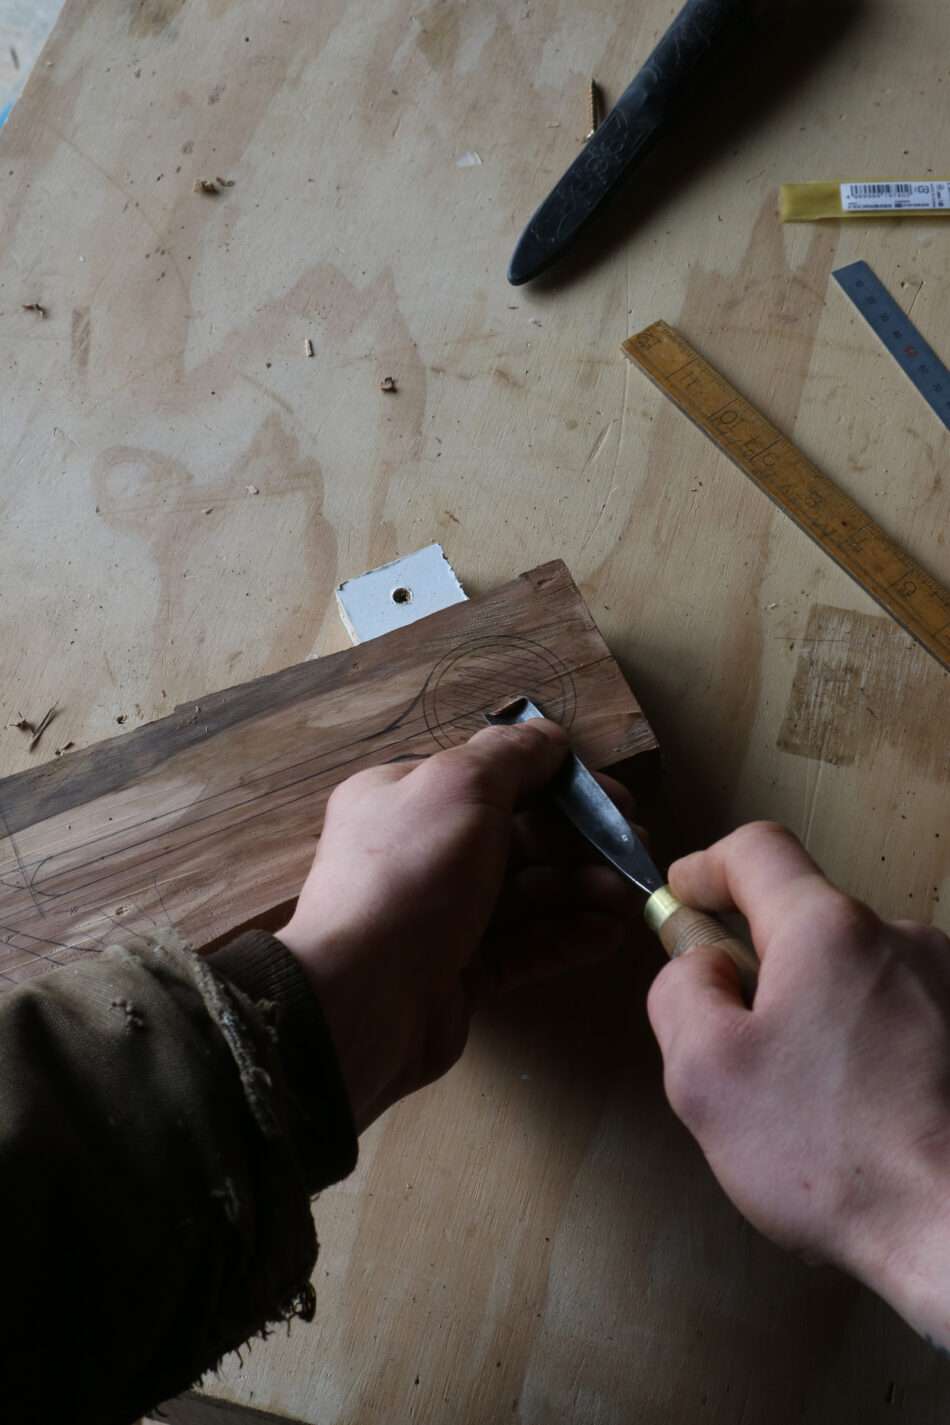
Now, either clamp your wood down to your workbench, or do what I did and screw a block of scrap wood either side of your carving wood to hold it in place. (This second method gave me a little more space to work with, without having to manoeuvre around clamps poking up from the bench.)
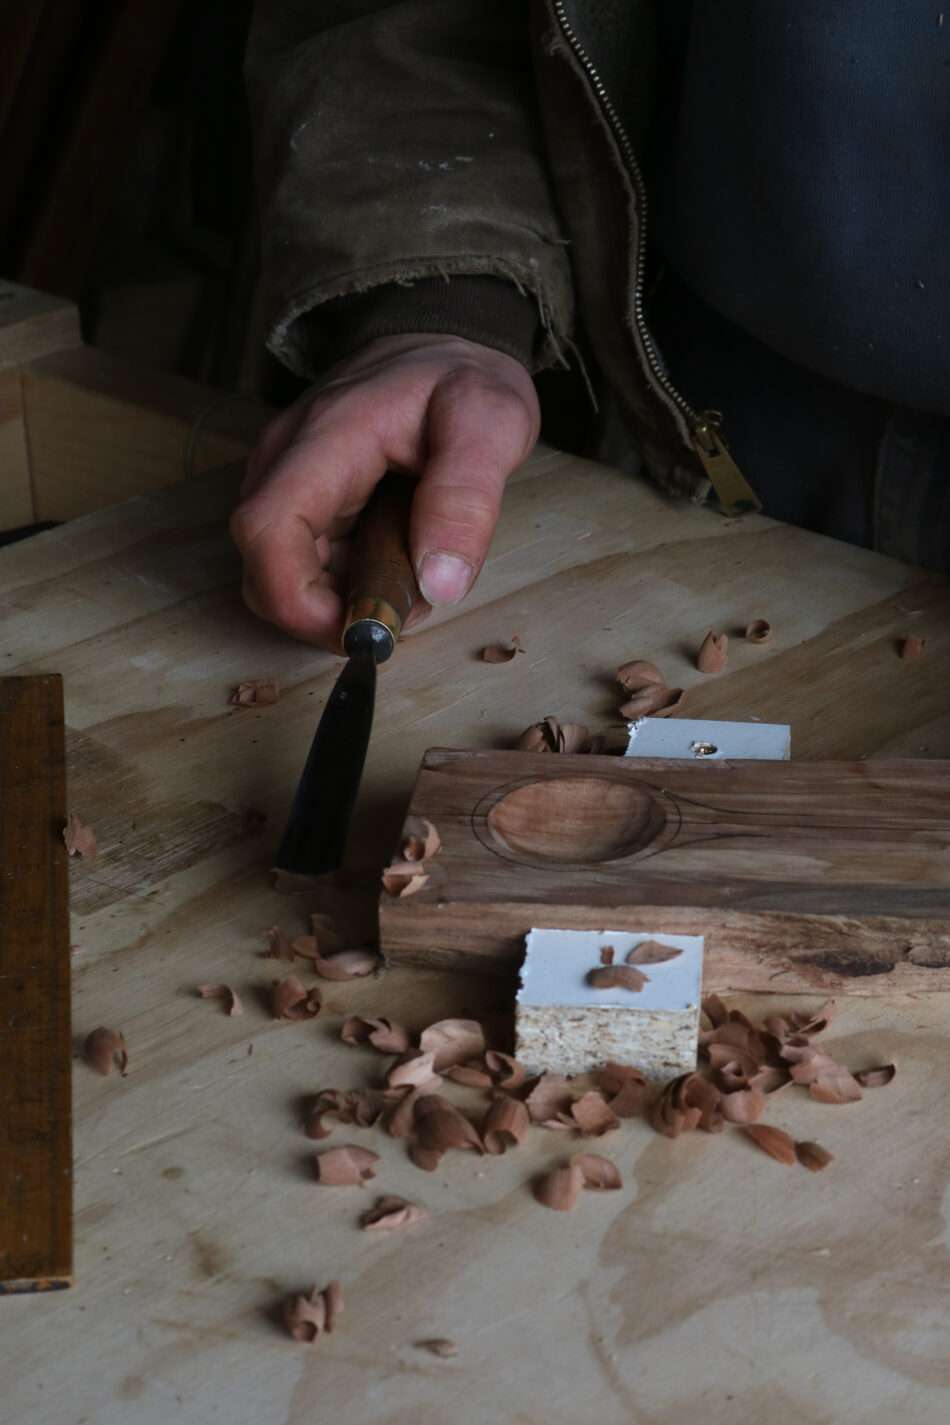
Use your gouge or crook knife to start carving out the bowl of your spoon. If you’re using a crook knife, you may find it easier to actually hold the piece of wood and knife closer to you for more control when carving.
Once the bowl is carved out, take a bit of 120-grit sandpaper and give the bowl of your spoon a sand down. This will just take away any imperfections of marks left by your gouge or knife and also smooth the surface down.
Carving tools…
I use both a crook knife and a gouge, so it’s just down to you on what’s more comfortable and natural. I picked up this gouge from a local flea market. They’re often the best places to find great woodworking tools for a low price, so after a quick clean up and sharpen, this is my tool of choice when it comes to spoon carving.
5. Cut
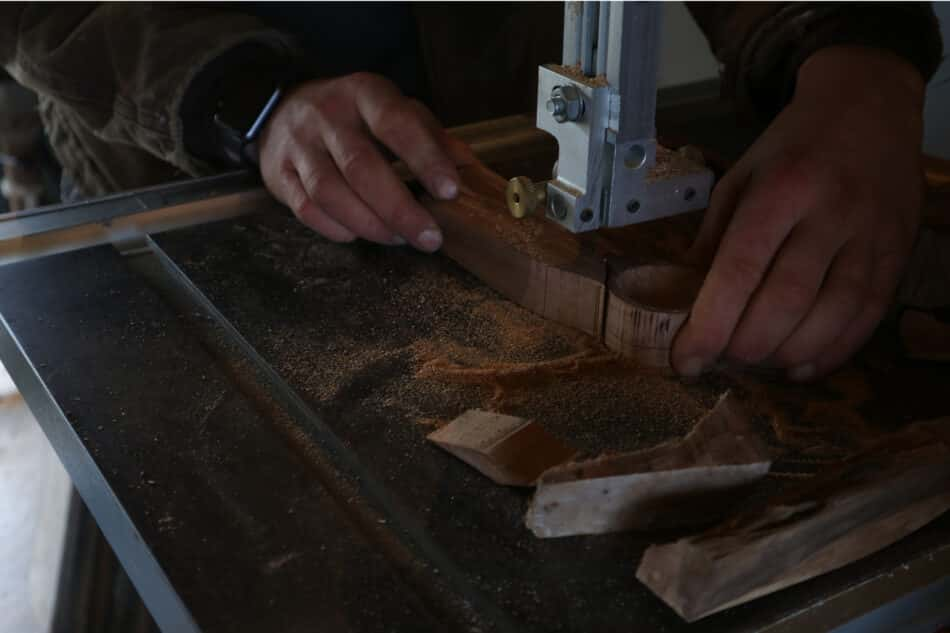
Use a jigsaw or bandsaw to carefully cut the shape of your spoon out, along the outer lines you’ve drawn. Now you’ve got what’s called a ‘blank’ for your spoon.
Small bandsaws can be picked up for a really good price nowadays, but if you can’t get one then just use a jigsaw. These can be a great and affordable alternative to a bandsaw.
If you’re using a jigsaw, be sure to clamp down your wood tightly to your workbench and follow safety instructions included with the jigsaw. If you’re using a bandsaw, then be careful to keep your finger out the way!
6. Carve back
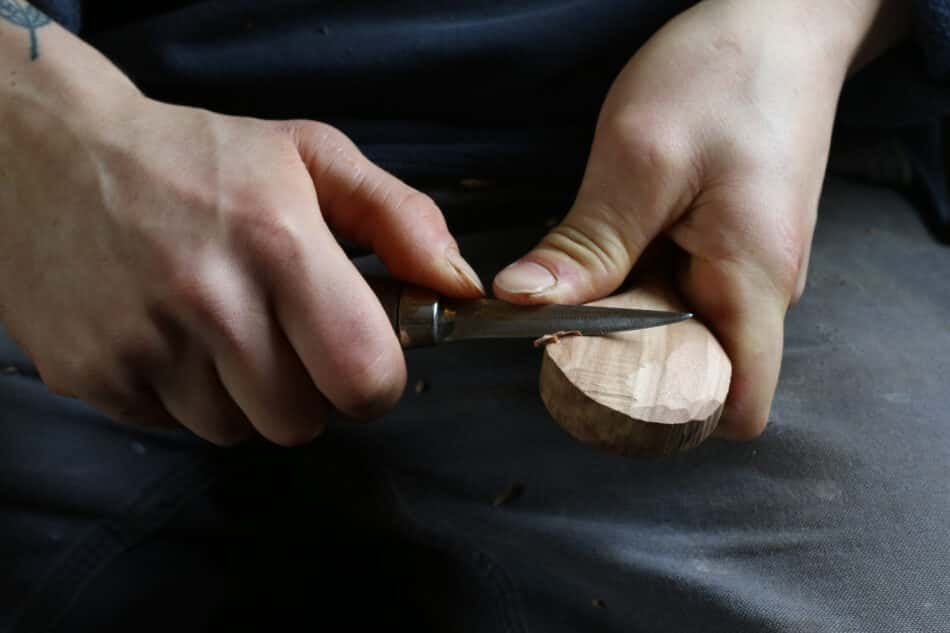
Start working on your spoon blank with your straight carving knife. There are plenty of different ways to hold and handle a carving knife that can be found online, but a lot of it is down to the user and, above all, just feeling comfortable with it in your hands.
Start on the back of your spoon, taking some of the weight off around the bowl. Be sure to cut just a little off at a time – once it’s gone, it’s gone!
Remember to be very aware of where your fingers are at all times while using the knife.
Tip:
The two main carving grips I use are a pull stroke to my chest and a thumb push, often used for smoothing the spoon or taking chips away from the back of the bowl. The pull stroke seems counter-intuitive and even dangerous, but at this angle your hand should always hit your body before the blade. The thumb push is self-explanatory. Holding the spoon and knife tightly in each hand, use your thumb (the one holding the spoon blank) to apply pressure and push the back of the blade.
7. Carve front
When you’re happy with the shape of the back of your spoon, flip it around and start working on the front.
Throughout carving, be aware of how much wood you’re taking away from the handle. It’s easy to get distracted and take too much off, resulting in it becoming too thin and snapping.
8. Choose a look
When you’re happy with the overall shape of your spoon, you have a couple of option to choose from.
You can either grab some sandpaper and sand the whole thing to a nice and smooth finish, or – if you’re like me and want the handmade look with the knife marks – you can leave it as it is, creating a bit more of a story to the piece.
9. Oil
Once you’ve decided how to leave your spoon, you can put your finish on. This is an important step to maintaining the life of your spoon (or any other wooden utensil or chopping board). By adding the finish you’re adding moisture protection which will help keep your spoon looking fresh for as long as possible. If you’re just going to have the spoon as a decorative piece then I’d still suggest putting a finish on it as it brings out the natural beauty of the wood.
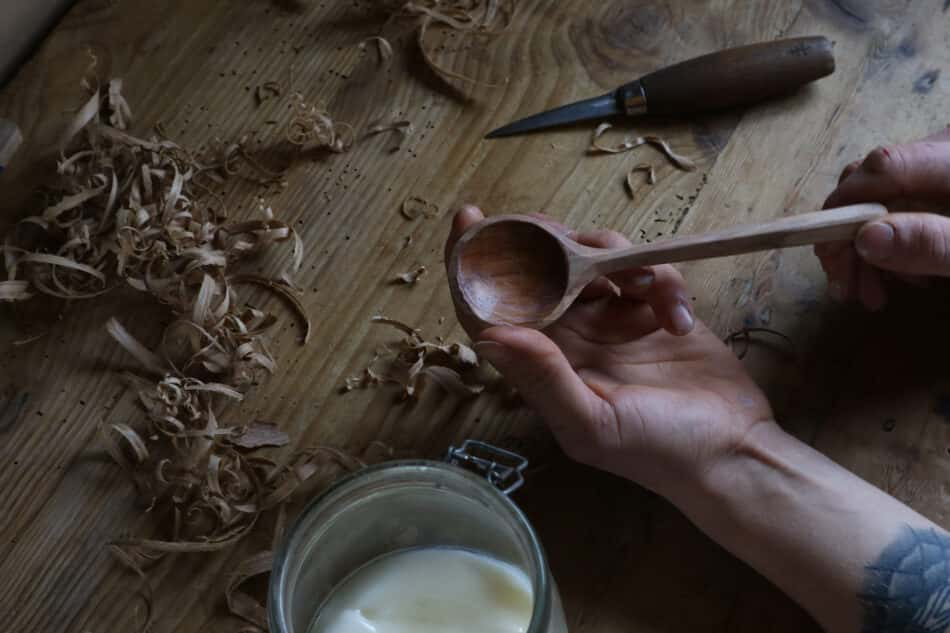
I use a balm, or wood butter, that I’ve made from melting coconut oil and beeswax. Take a look online for more specific instructions on how to make this. There are loads of different finishes you can put on wooden utensils and boards, but this is something I’ve used since I started making wooden pieces, and it seems to work great.
10. Dry and polish
Once your spoon has been oiled, leave it for a few hours to allow the balm to soak into the wood. Then use a clean, dry cloth or rag to wipe off any excess.
Text and images © Welbeck Non-fiction Limited. This is an extract from Maker.Home by Tobias George, published by Welbeck, £16.99.
