DIY Diaries: Japanese shou sugi ban charred wood cladding, a step-by-step guide
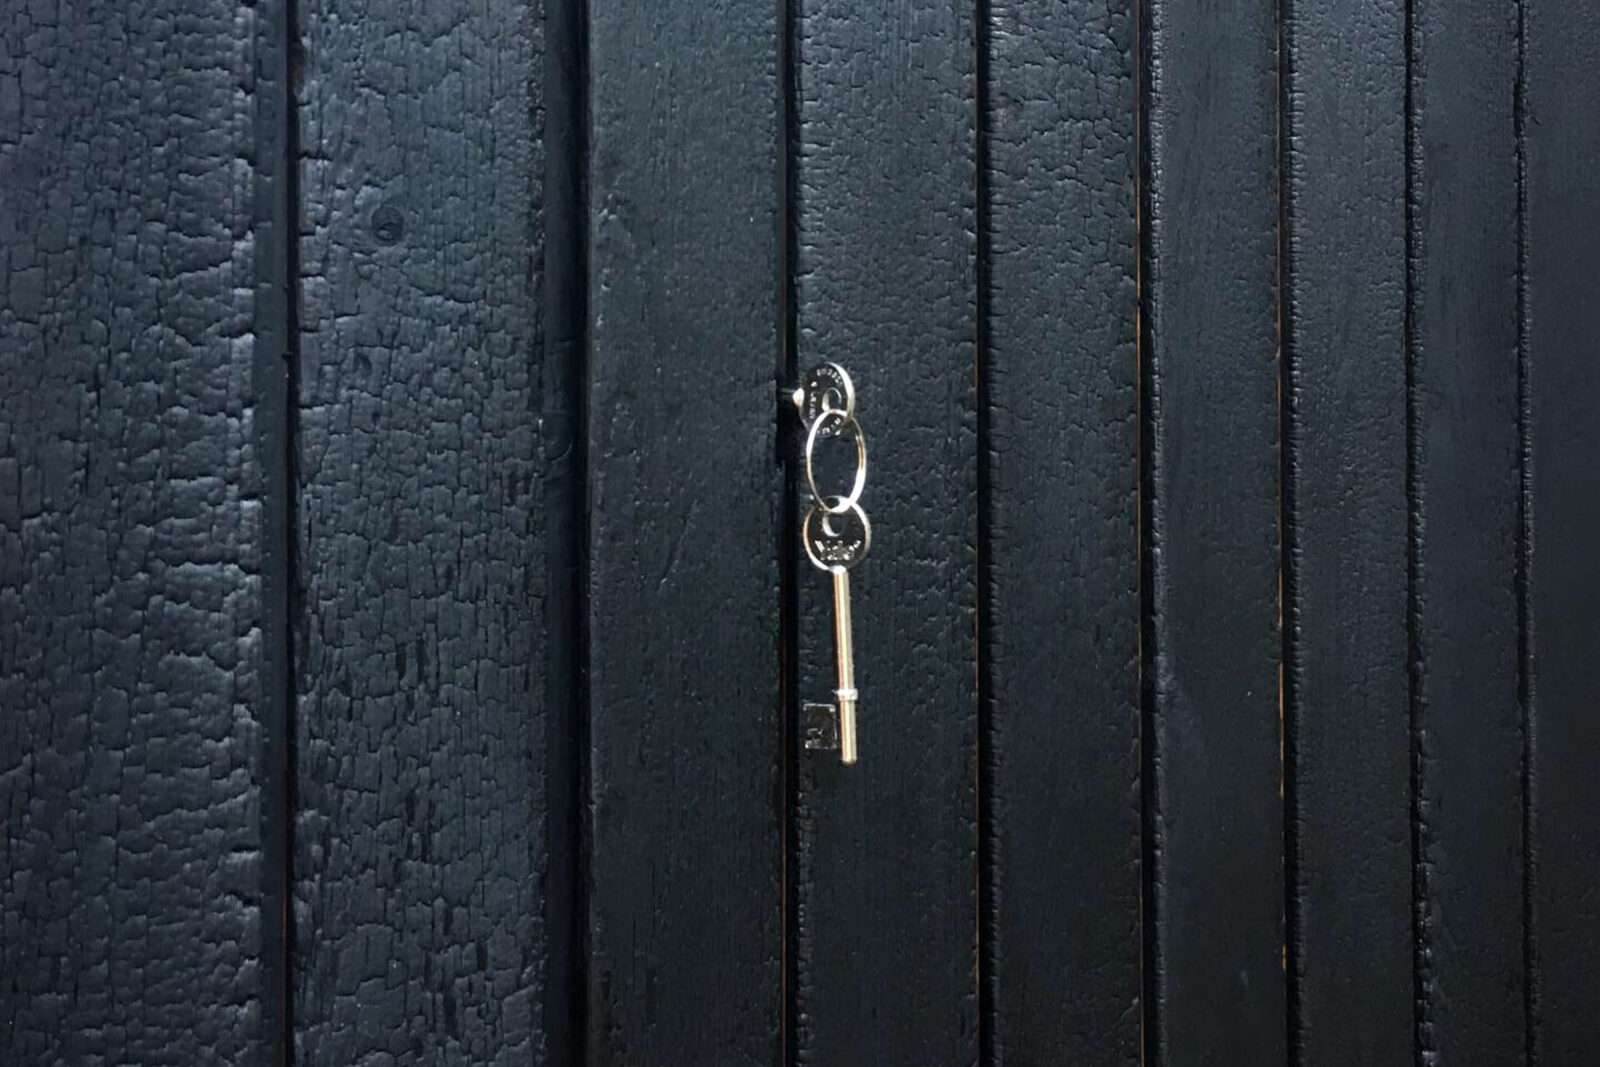
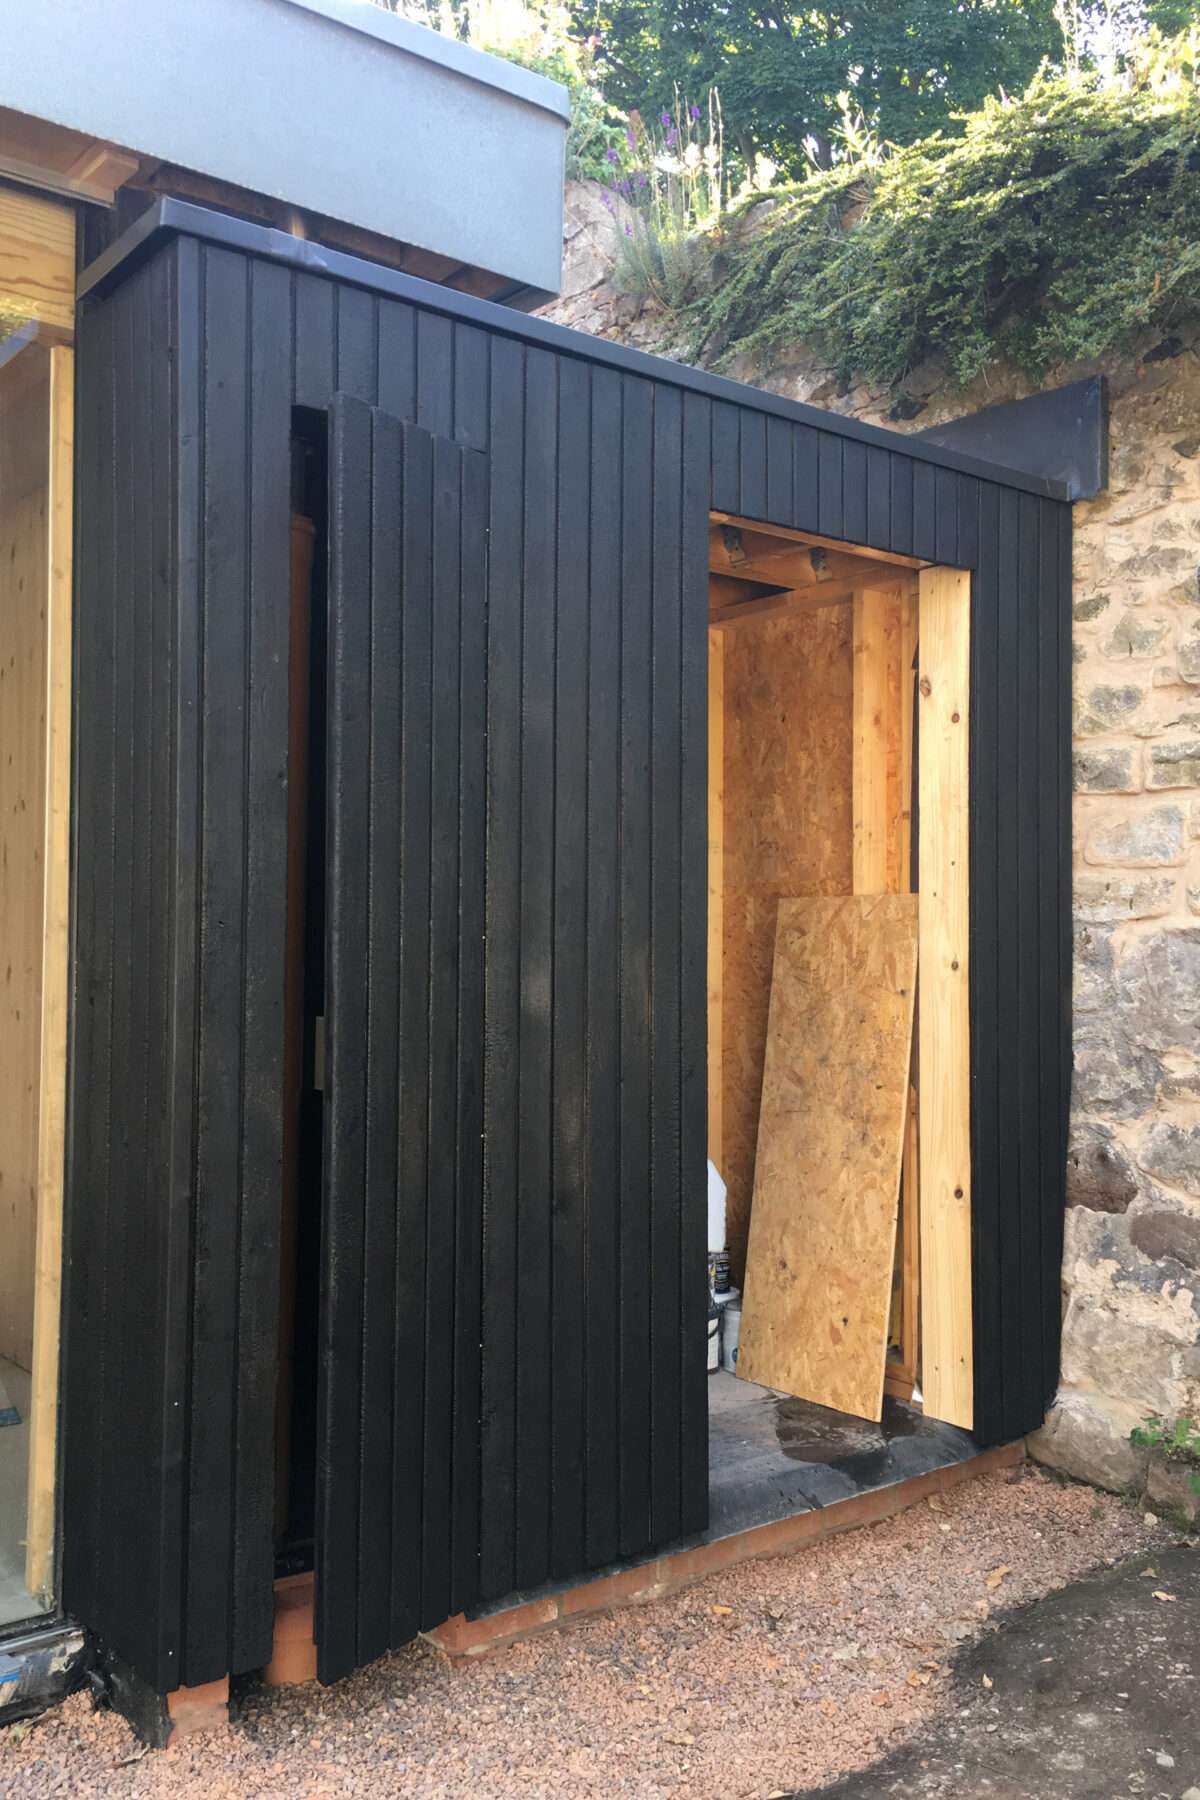
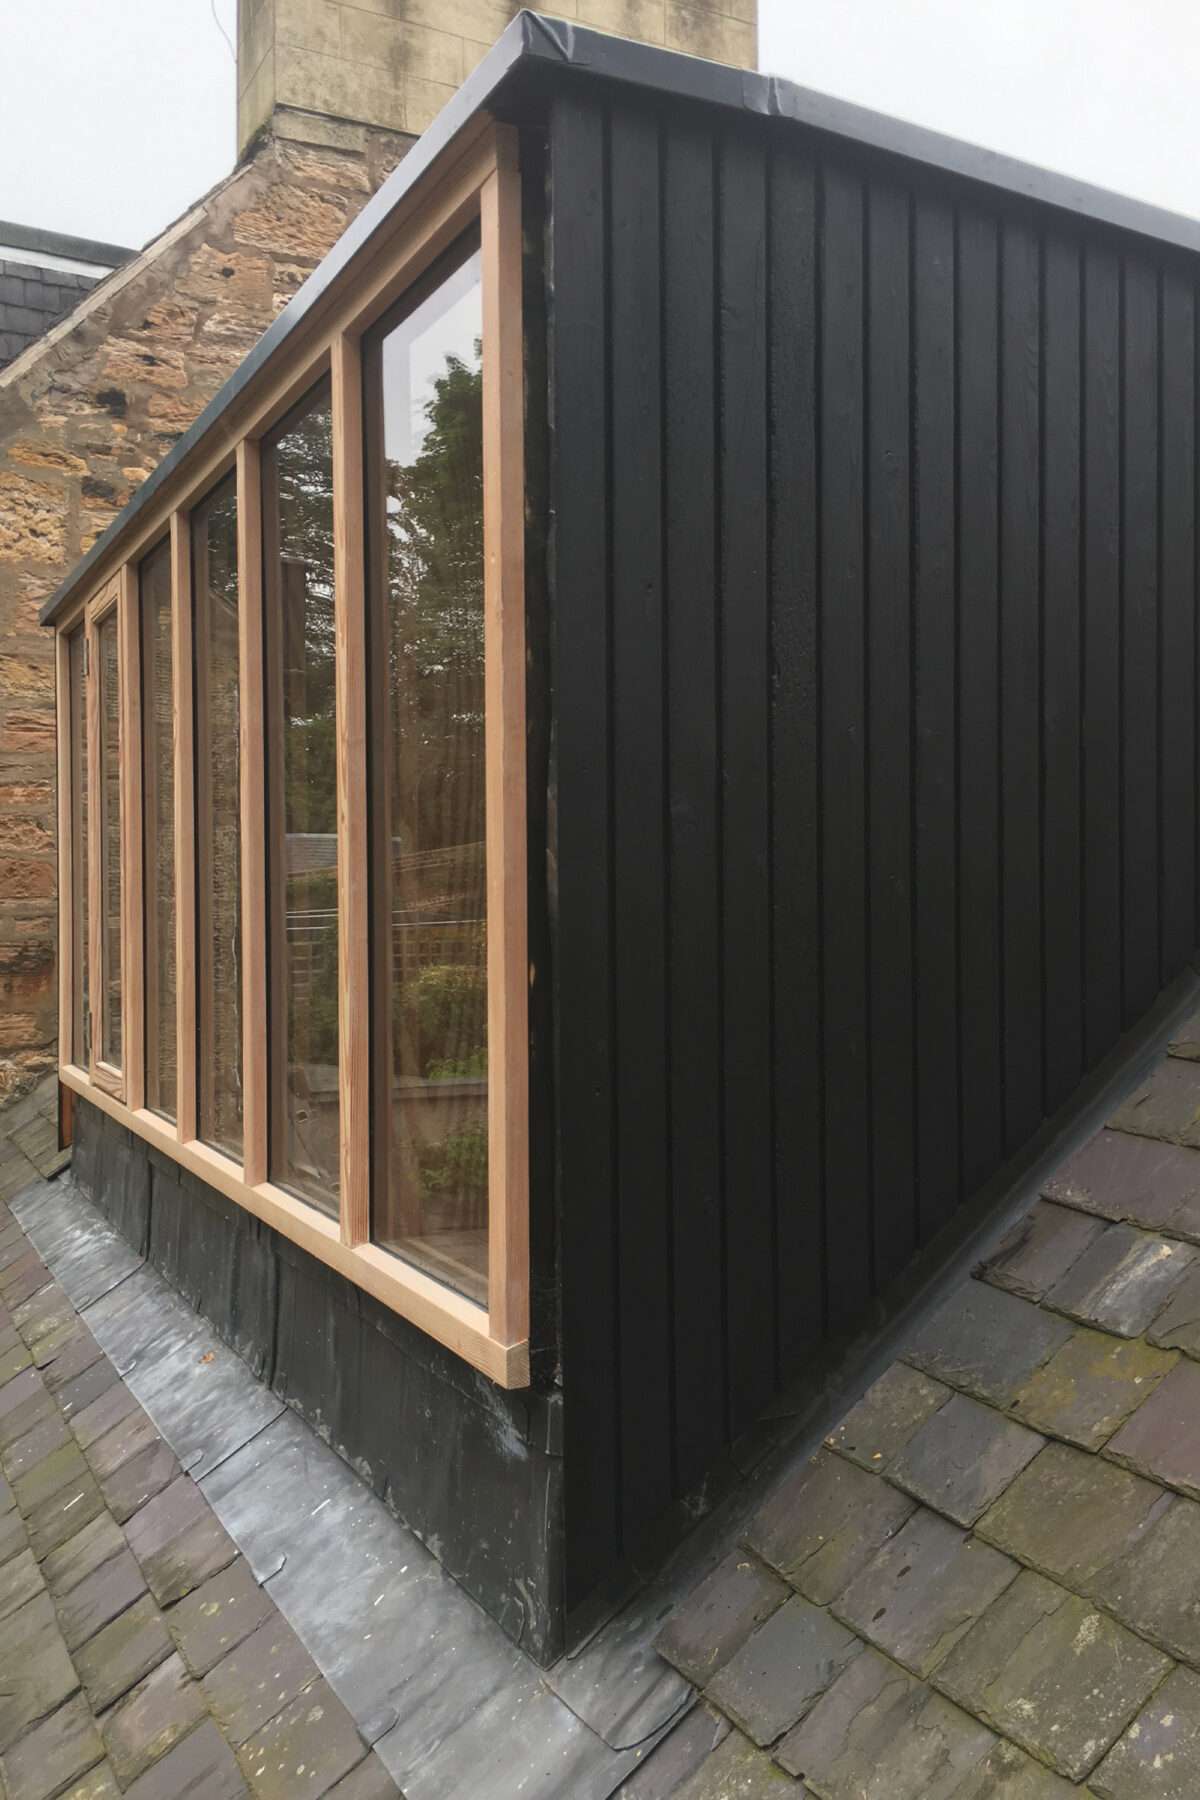
Tom and Emma: Although we are professional designers, an architect and town planner respectively, we are amateur self-builders who have learned everything on the job. As part of our project to build a contemporary kitchen extension within the walled garden of the cottage, we decided to use the ancient Japanese method of charring wood to create external cladding, including a door to a hidden workshop.
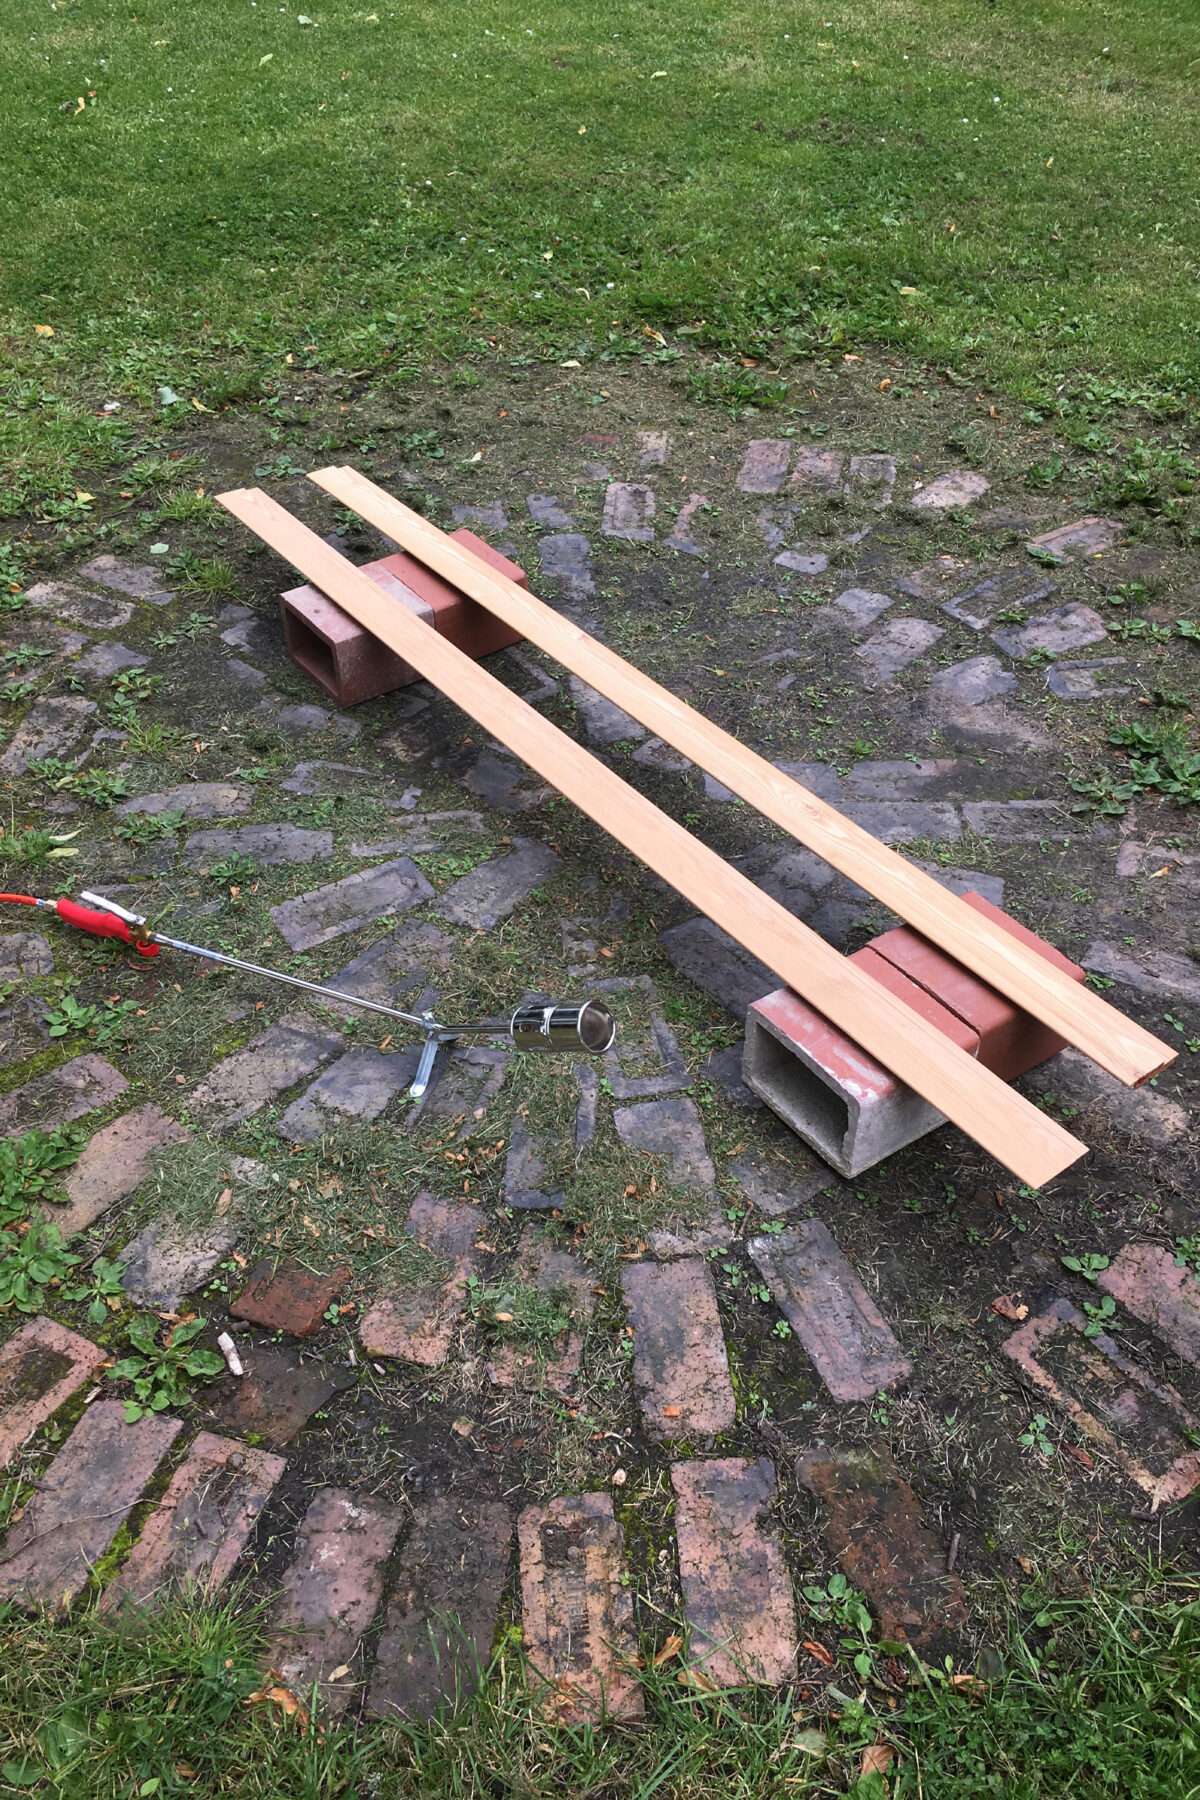
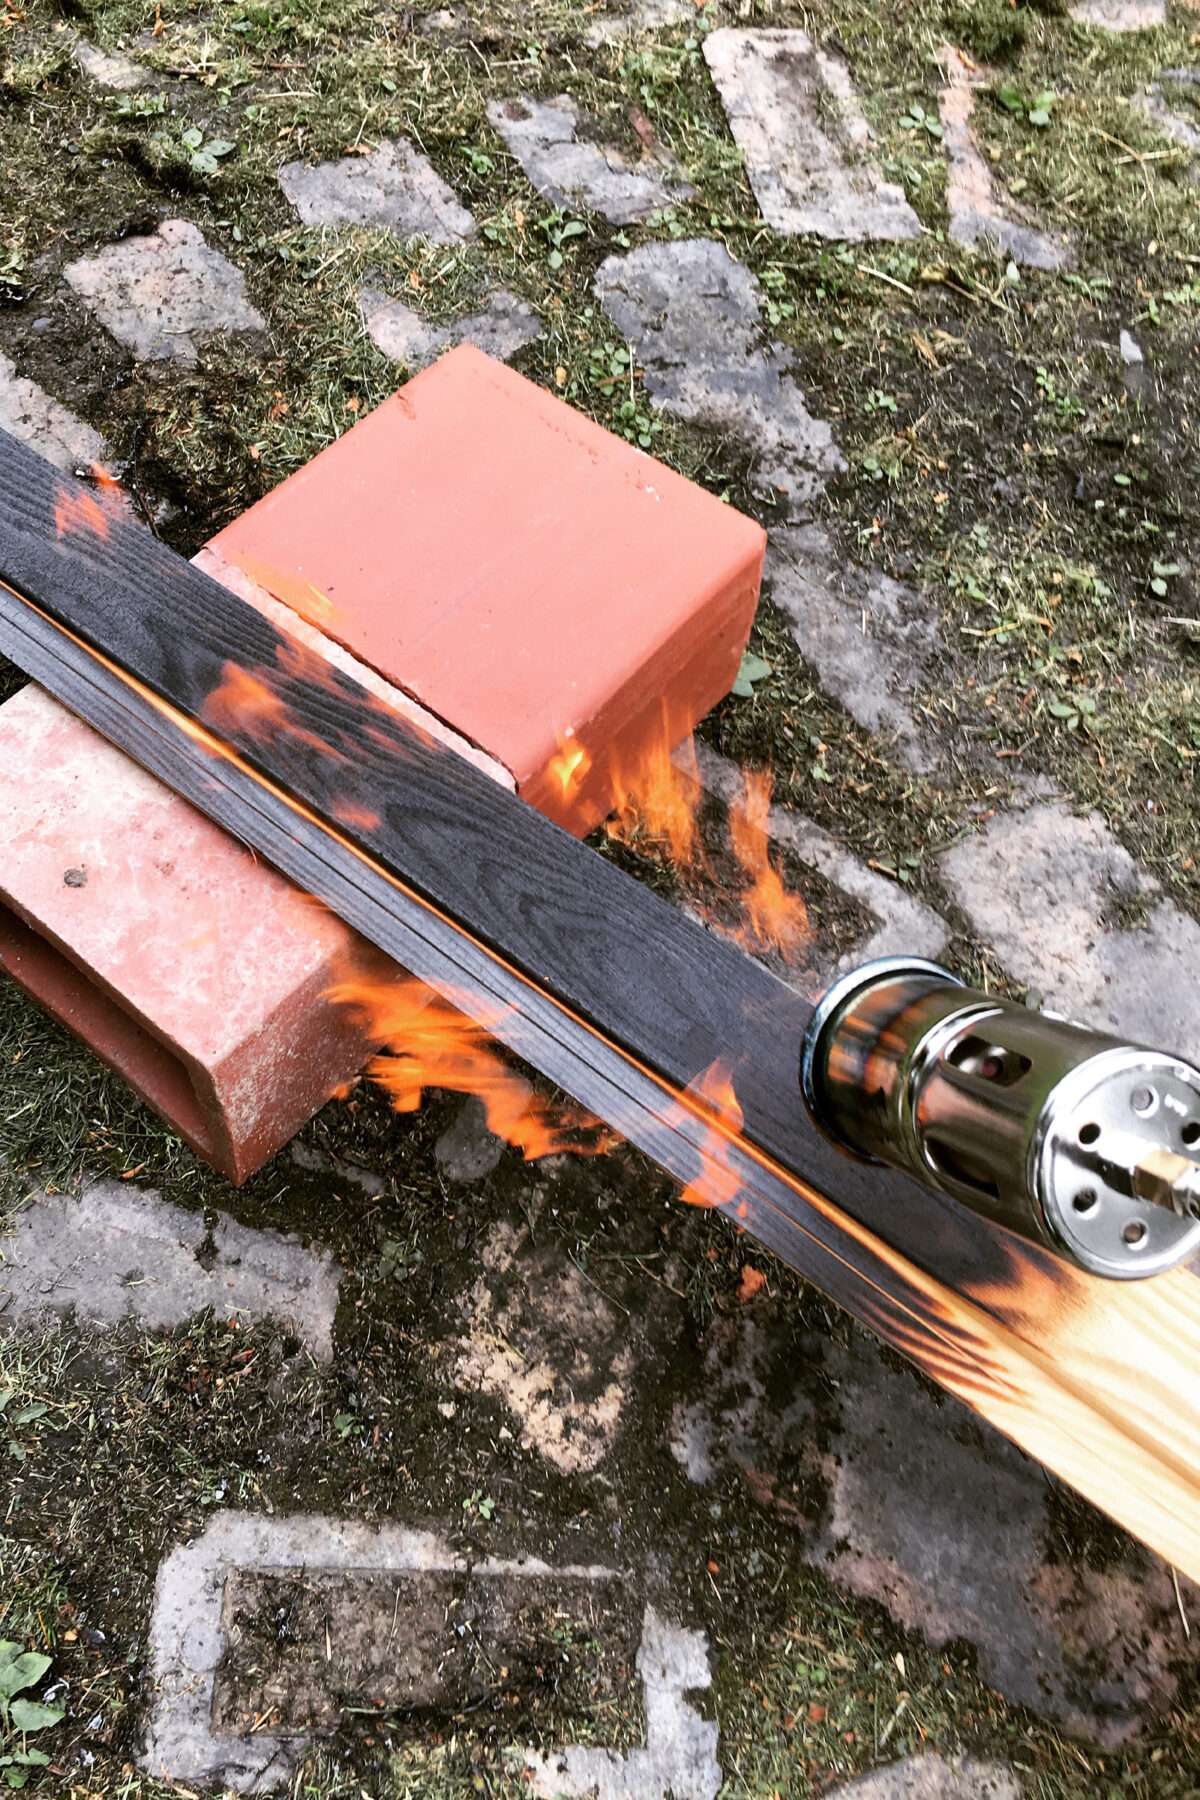
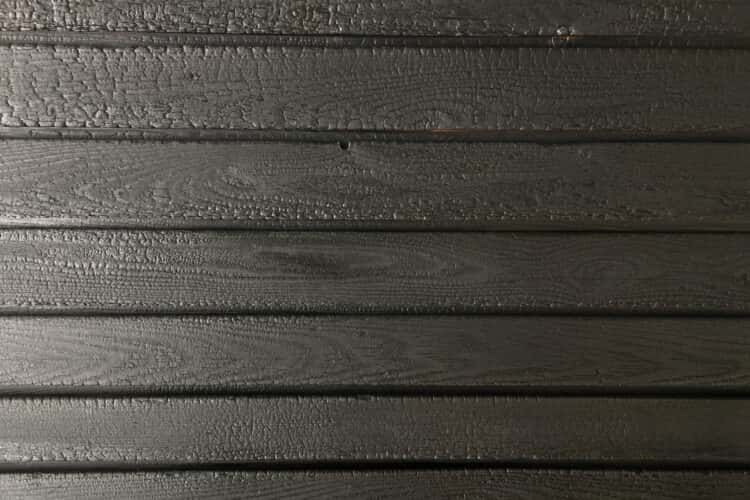
We love the simple and quiet aesthetic of shou sugi ban. The charring process dramatically enhances the natural variation in the character of each wooden board and is also a sustainable way to provide excellent natural fungal and pest protection, and some resistance to saturation from rain. Believe it or not, the Japanese originally developed the method as a simple way of providing natural fire-proofing to their buildings.
The shou sugi ban method could be applied to lots of creative projects, particularly outdoor ones: wooden raised garden planters or a unique garden shed, for example.
This project obviously involves the controlled use of fire with gas torches, so all appropriate safety precautions should be taken, and you should do the work in a safe place away from buildings or other flammable materials with enough space to lay out your work.
An untreated timber of your choice. Cedar is traditionally used in Japan, but we picked Siberian larch from Russwood because the grain matched beautifully with the structural Douglas fir we used to construct the kitchen extension.
Natural wood oil – we used clear external oil by Osmo.
ToolsRoofing propane torch and gas cylinder
Plumbing brazing torch for detail work
Heatproof gloves
Water spray bottle
Stiff-bristled brush for cleaning
Paintbrush for oiling
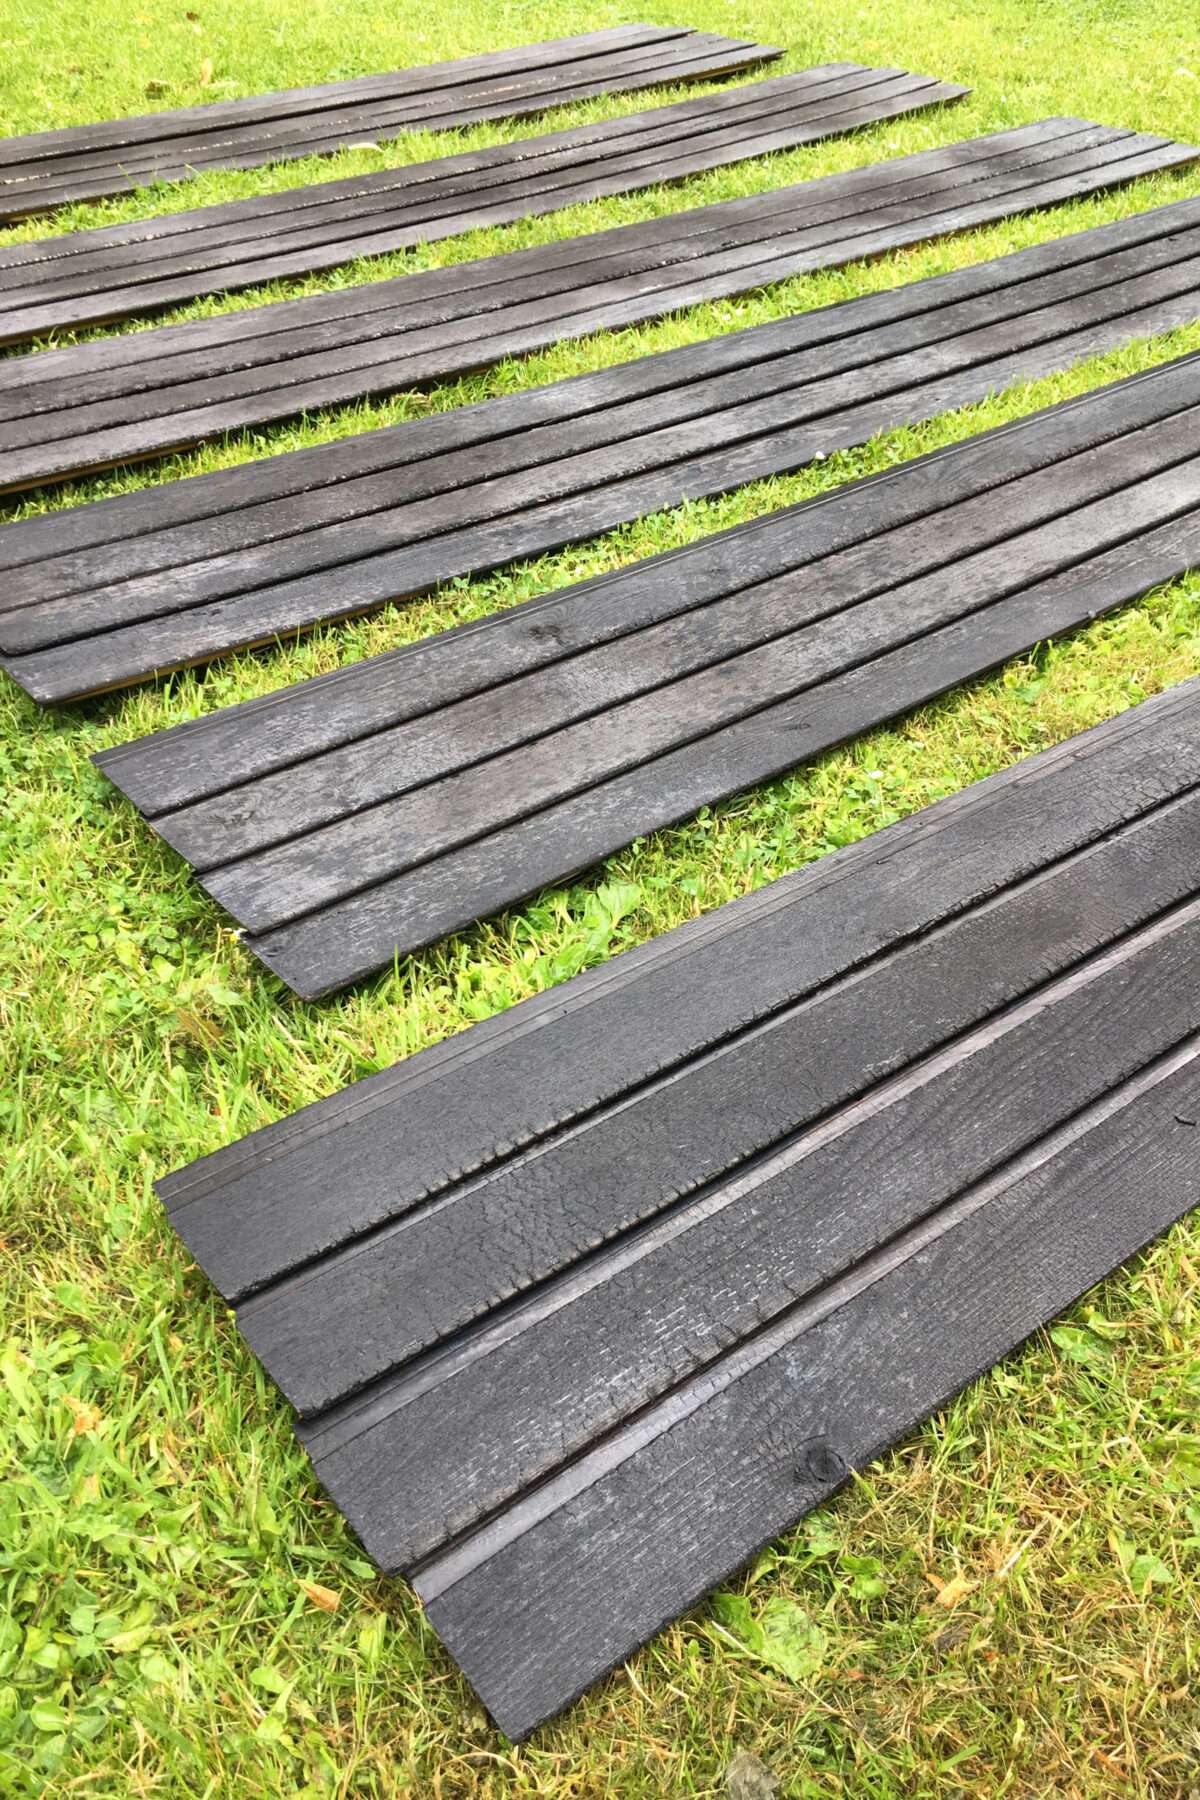
Decide how the timber is going to be used on your project and cut all the pieces to the right size beforehand so that you avoid damaging the lovely charred surfaces later.
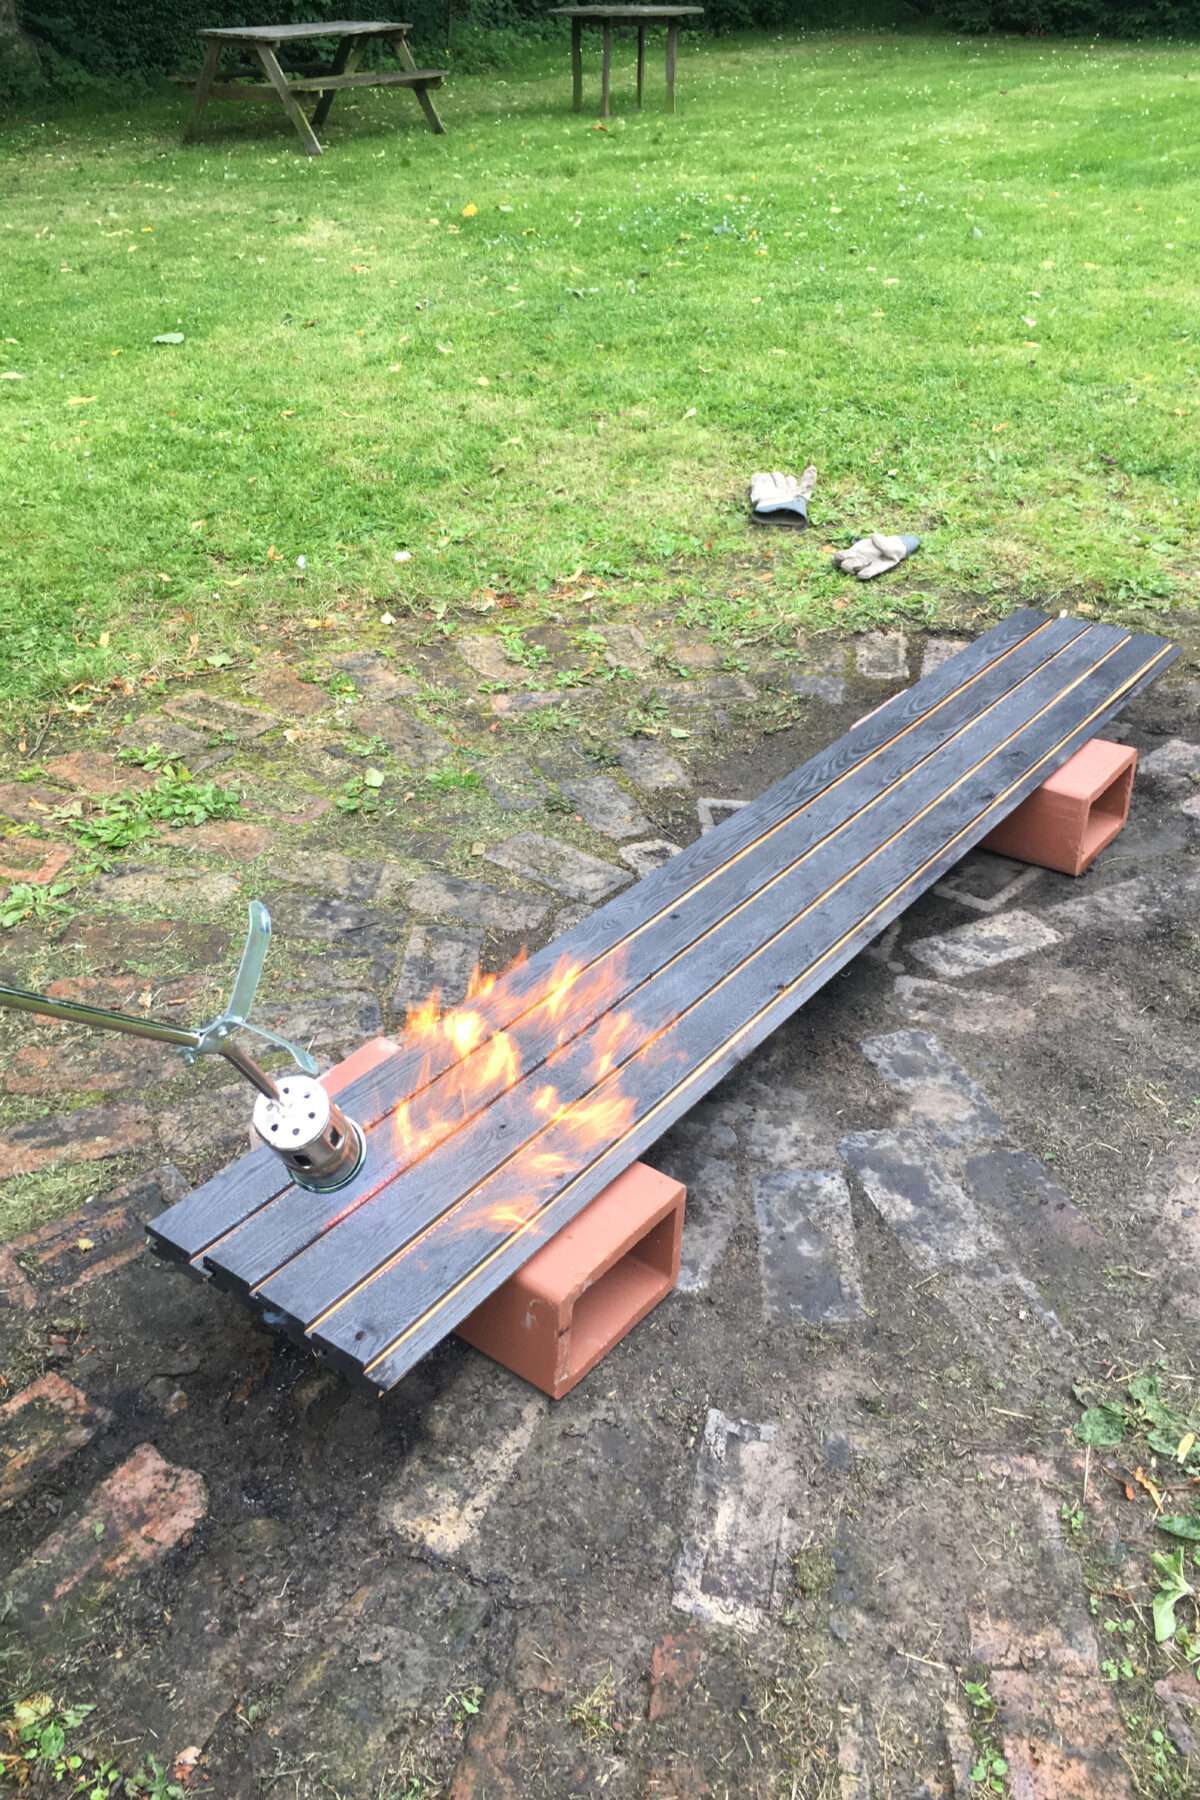
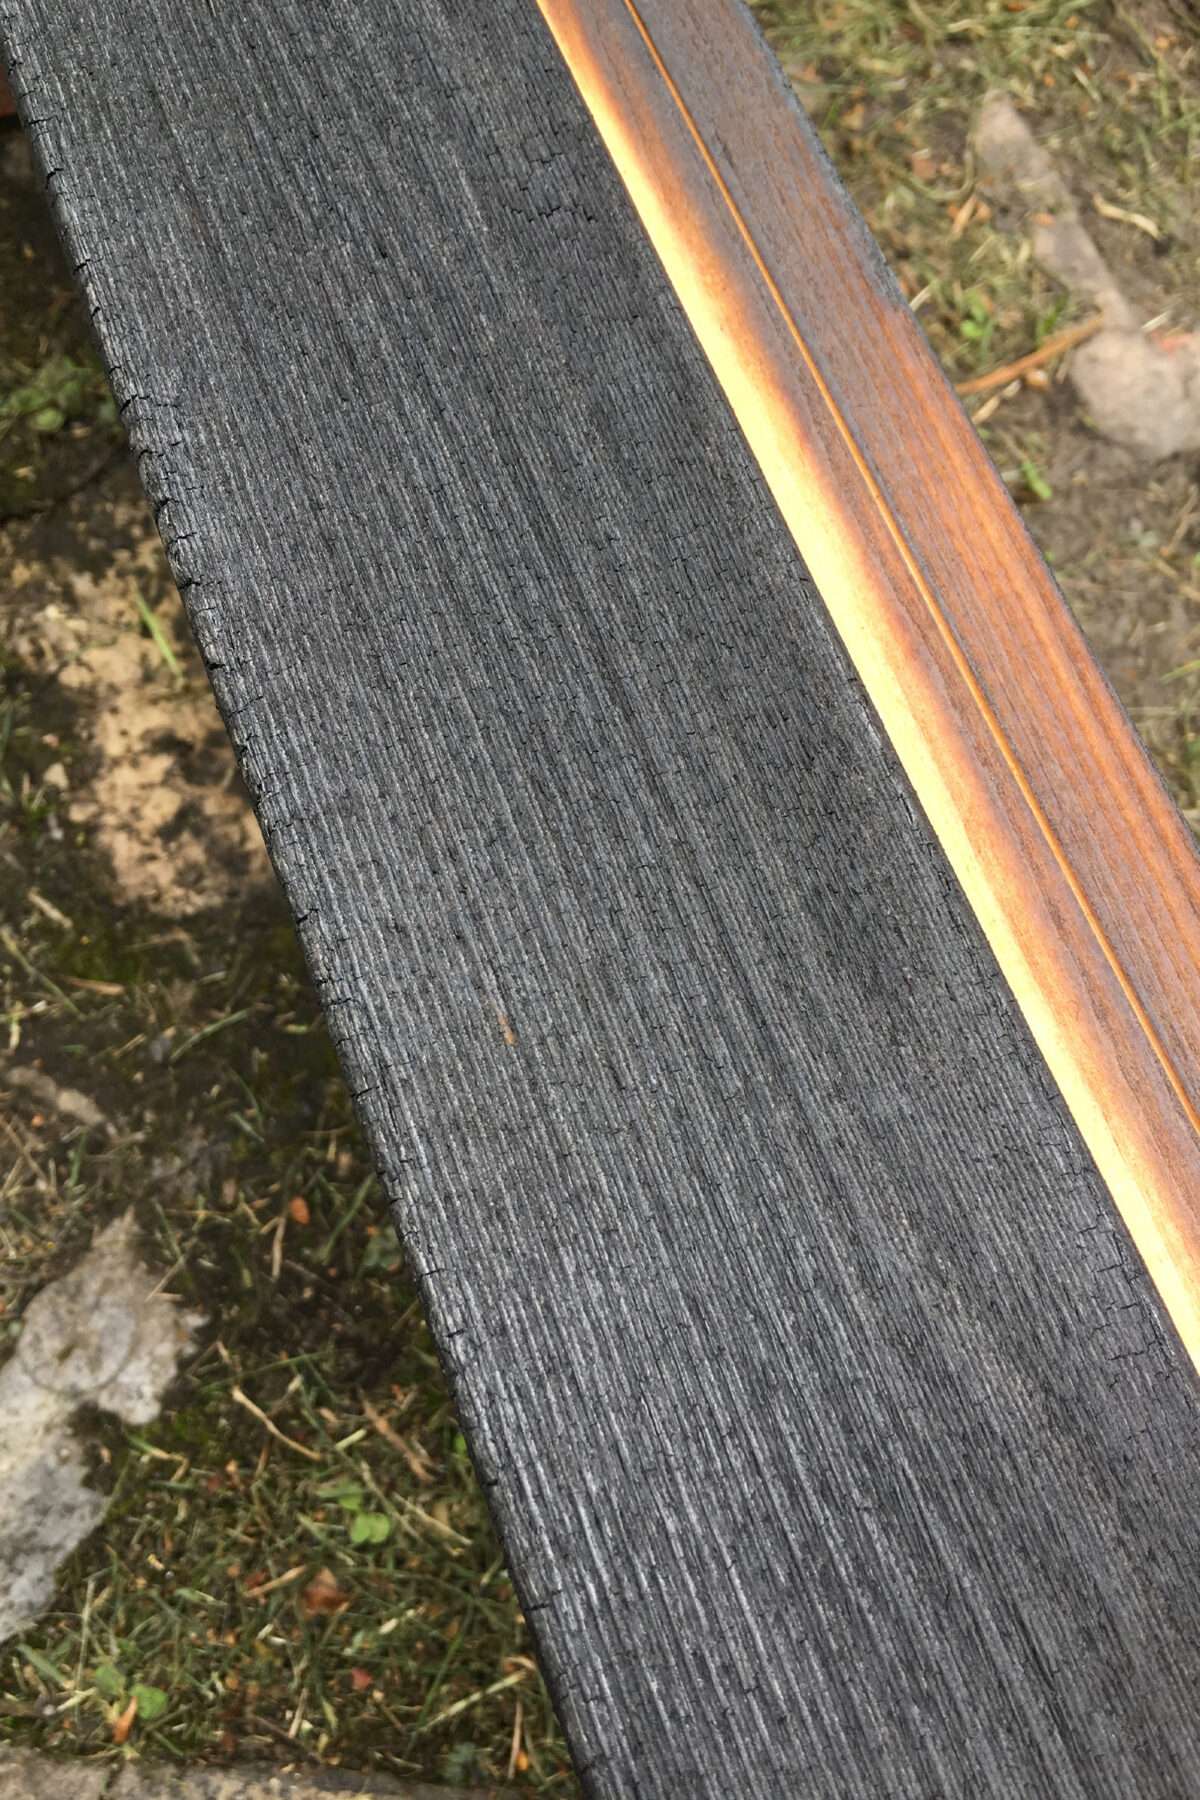
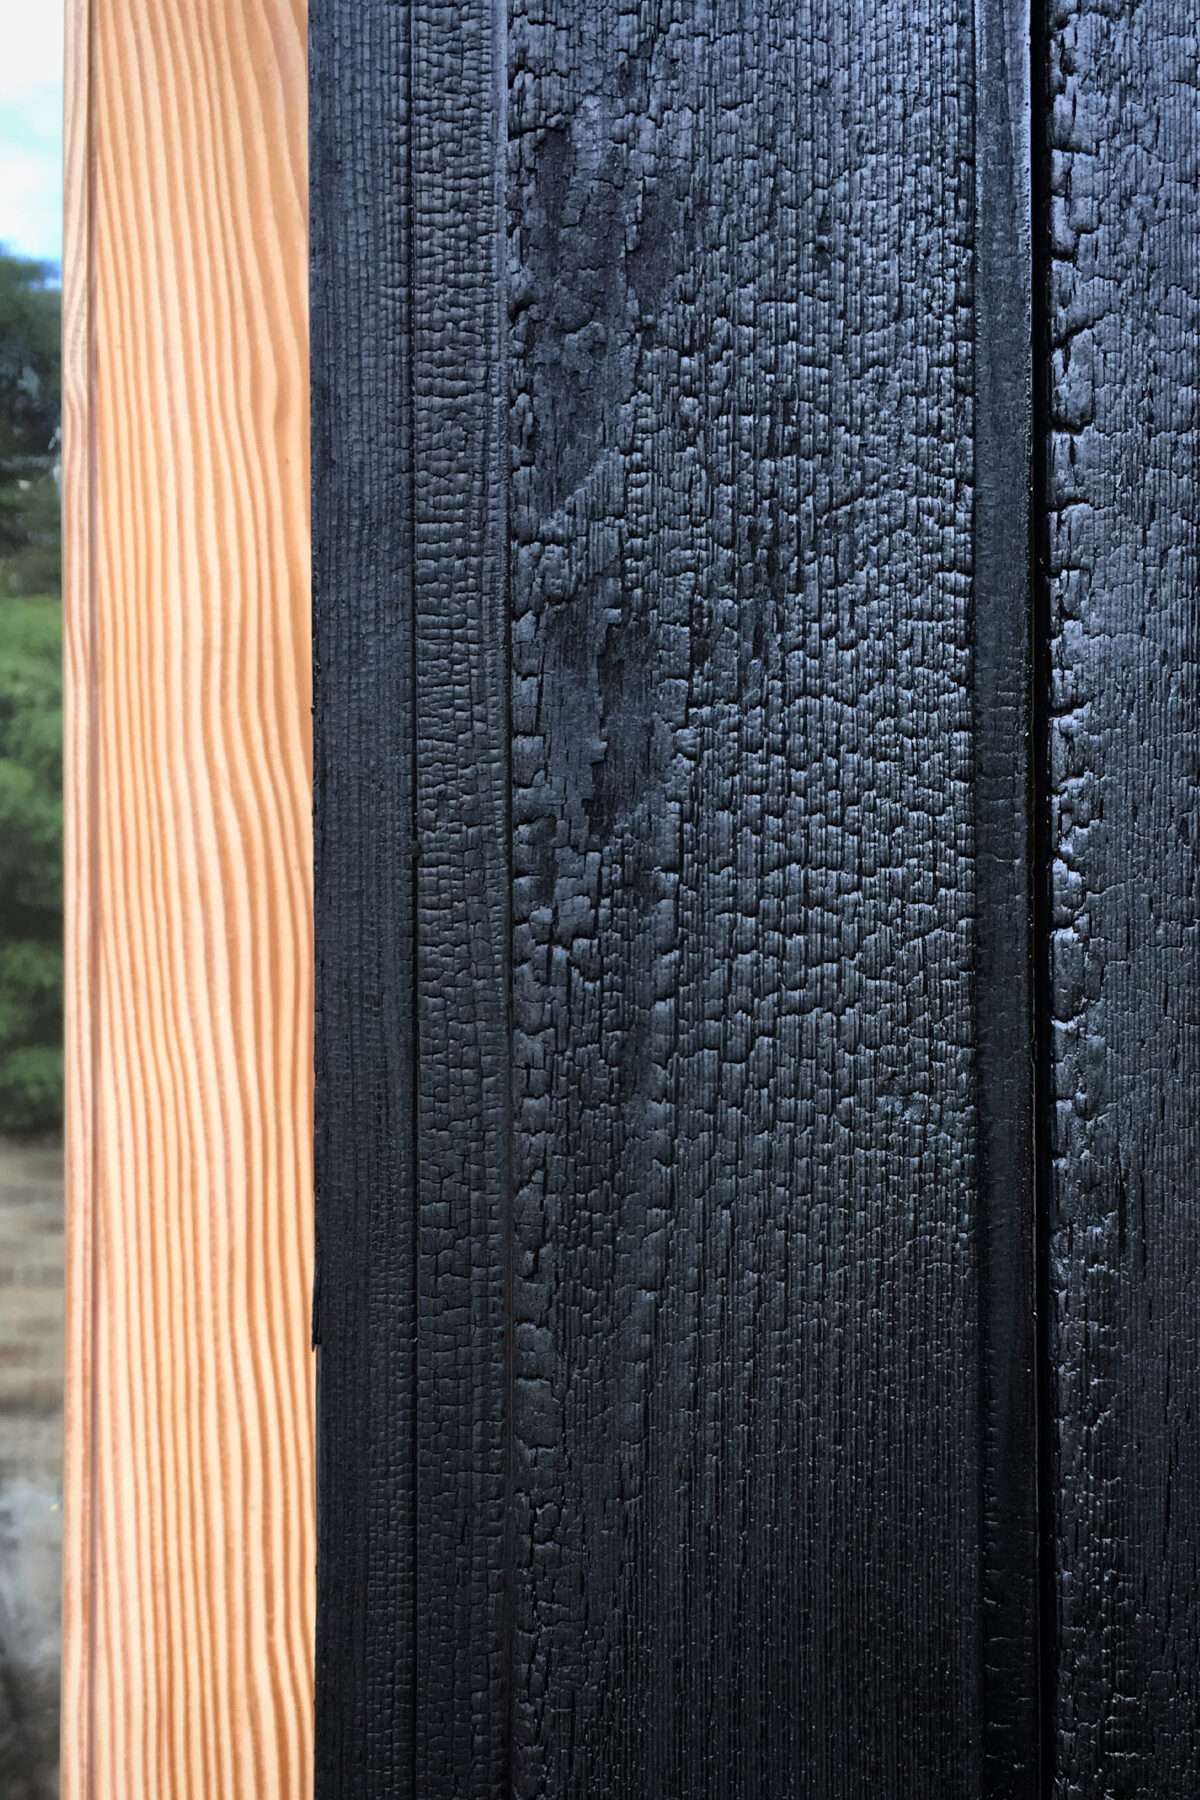
Set up your timber in a safe place and start burning! Using a roofing torch allows powerful but controlled heat over large areas. You can experiment with different intensities of charring depending on your desired effect; from lightly-toasted to full crocodile-skin crackle. Don’t be afraid to hold the flame over the wood for a while – you’ll be surprised how long it takes to achieve an even charring.
We went for a deep black but not overly charred finish. You can also use a wire brush to completely remove the black charcoal, leaving a deep brown colour that is very traditional in Japan.
Lightly spray down the charred surfaces afterwards to cool the wood and help reduce warping.
Gently brush off any white ash or loose charcoal before applying a natural wood oil to seal the surfaces texture and enhance the deep black shade.
Install the charred wood. We used tongue-and-groove profile boards to secure the cladding in place without any visible fixings.
A water spray bottle is a handy way to quickly extinguish any small areas that start to burn too much.
Use a smaller plumbing torch to finish off parts of the wood that don’t fully blacken from the larger flames.
When charring long or thin pieces you may find the wood warps dramatically. This can be counteracted by weighing the boards down on a flat surface until they are ready to install.
The unsealed charcoal is relatively fragile, so be extra careful when handling it until the oil coats have been applied.
